|
|
|
CRAFTS | ||
| Card Boxes - Next | Book Marks - Bottom of Page | |
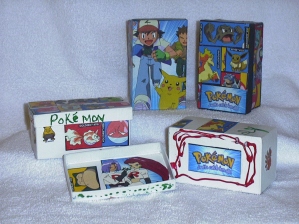
Make Your Own Pokémon Card BoxMaking your own Pokémon card box is really simple, and can be a lot of fun. Let's start with a list of supplies:
|
 |
|
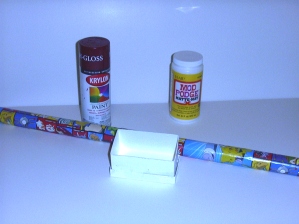 |
Step 1We started by spray painting the paper maché box. Since the box is basically paper glued together, you have to be careful not to put too much paint on the box the first few times you spray it. We started with really light coats that dry fast. Doing this kept the boxes from warping. The first time we sprayed our boxes, they warped really bad because we put too much paint on them. While you're waiting for the paint to dry, start cutting out the pictures from the magazines or wrapping paper. |
|
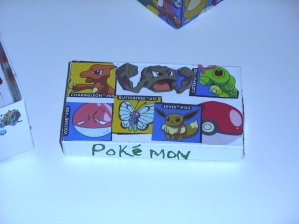
Step 2Step 2 is the most fun, and a good time to get the kids involved. Finish cutting out the pictures you want from magazines and comic books, or from wrapping paper. Then decorate your box with the pictures and images you like. Simply use the white glue to attach your clippings where you want them. Don't forget to decorate the inside too! Once all your pictures are in place, write your name on the inside of the box with the jelly roll pen. |
 |
|
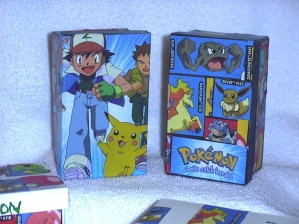
| Step 3After the glue dries, we're ready for the final step. Use the Decou Podge or Mod Podge and the paint brush to coat your boxes. Remember, don't put too much at once, or your box will warp. This step covers the box and keeps the pictures from coming off easily. While the Decou Podge and Mod Podge won't make your box water proof, they'll provide some protection. |
|
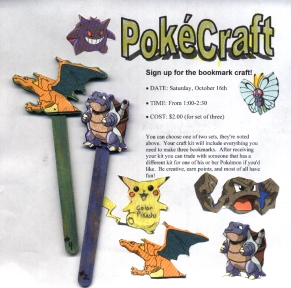
Make Your Own Pokémon Book MarksWe've also made book marks with Pokémon images. But you can use whatever images you like. Let's start with a list of supplies:
|
 |
|
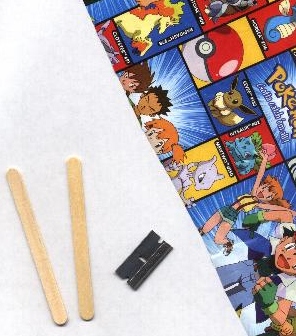 |
Step 1Start by cutting out the images you want to use to make bookmarks. Try to find images that are only about an inch or two in size, otherwise you'll have a really large bookbark! Step 2Trace the images onto the artboard, and then use the hobby knife or razor blade to cut out the foam board in the shape you've traced. |
|
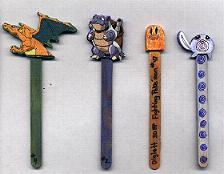
Step 3Use the white glue to attach your clippings to the foam board cut-outs. Now use the markers to color the back side of the foam board and the popsicle stick. Step 4Make a small slit in the foam board. Put a drop of white glue in the slit you made, and insert the end of the popcicle stick. |
 |
|

| Step 5After the glue dries, we're ready for the final step. Use the Decou Podge or Mod Podge and the paint brush to coat your bookmarks. This step covers the bookmarks and keeps the pictures from coming off easily. |
|